The 3D Printing Process
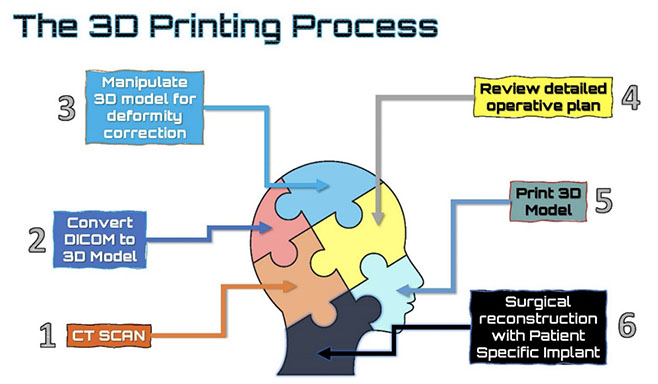
 The 3D printing process starts with the identification of the right patient and application. The patient is then sent for a CT scan (step 1).
CT scan data is then converted to a virtual digital model (step 2).
This model can then be manipulated and reconstructed with never before seen precision to assess and correct the deformity (step 3).
Once this is accomplished, a customized surgery is planned by a team of individuals including the surgeon and a design engineer from the partnering additive manufacturing company who adjust the model to mimic the type of correction the surgeon is wanting to achieve (step 4).
Once the plan is reviewed and approved by the surgeon, the patient specific plan then sent for additive manufacturing or 3D printing (step 5).
Upon completion, the 3D printed part is sent to the surgical facility and prepared for surgery. Prior to surgery, the surgeon reviews the detailed pre-operative plan… and then performs the surgery according to the plan (step 6).
Click here for a video that reviews the 3D printing process for a total talus replacement surgery.

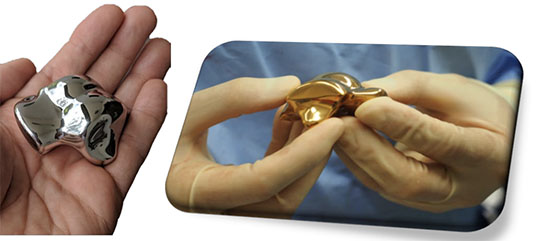
3D Printed total talus pre and intra-operative views

